Aluminium petrol tank repair
(July 15, 2010)A friend popped by the workshop the other day with a petrol tank from one of his many Bultaco trials bike projects, I've done a few of them for him, so I know the best way to tackle them. The first job to do on it was to remove the filler with a blowtorch to see what was lurking underneath.........................to say it had a few dents was an understatement!!!
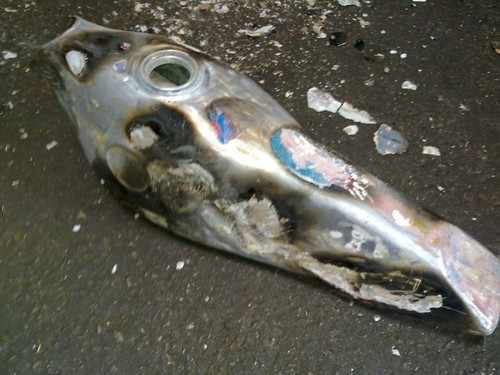
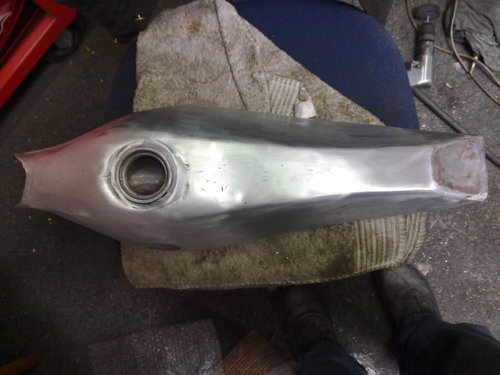
Here are the pictures of it after the filler was removed.
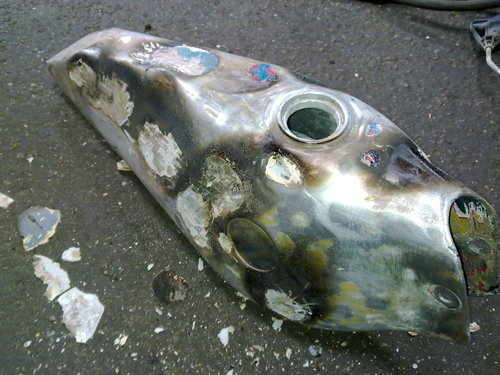
and another of the top,

and one of the other side
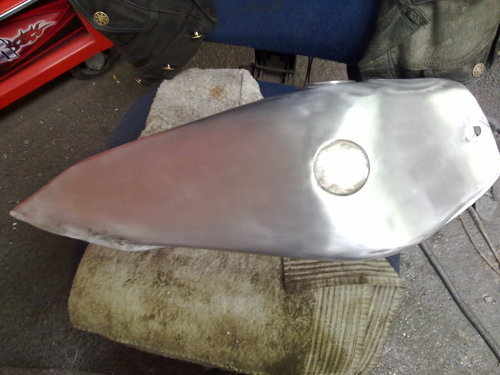
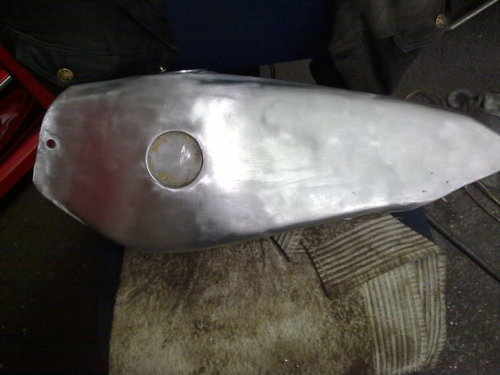
So the first job was to remove the bottom, unfortunately, I couldn't get in with my air planisher, so it all had to be done with a hammer and dolly.
As you can see in the following pictures that it came out rather well.
I've got another tank of his from a BSA Goldie that I'm tackling at the moment, it had loads of dents and the tunnel was rusted through in quite a few places, so I've got to remake the bottom and remove all the dents from it. It has to be perfect as it has got to be chromed when it's done, I'll put that one on when it's finished.